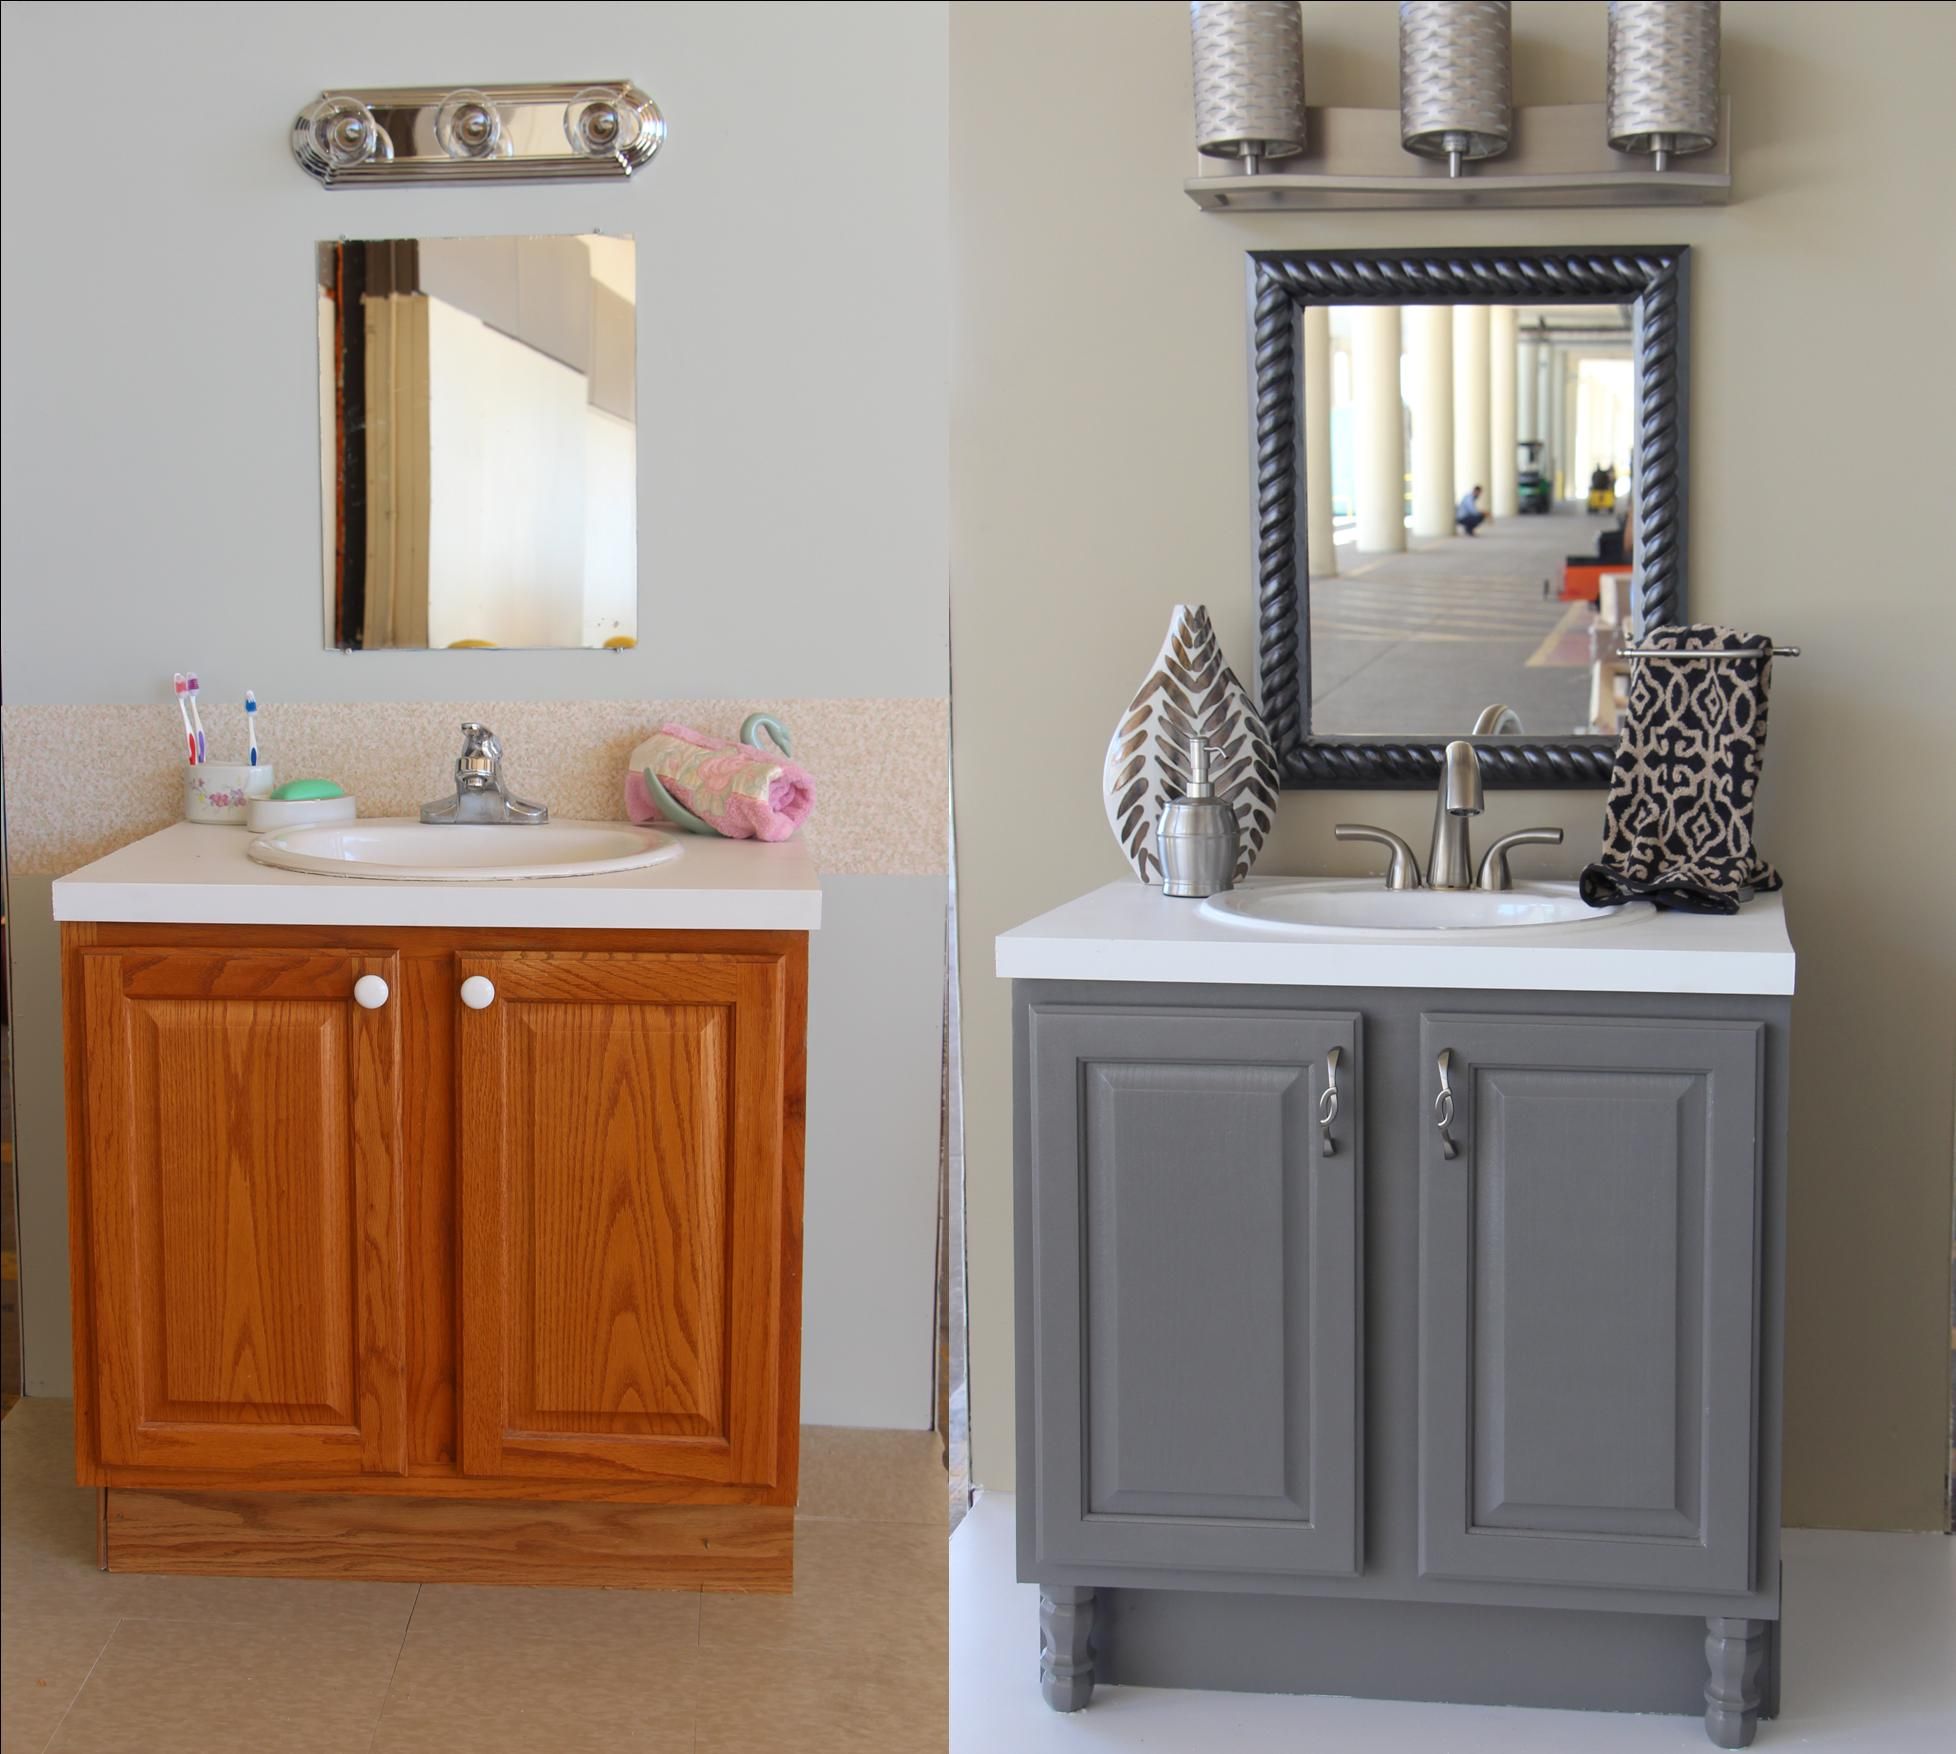
Preparation and Planning

The success of your bathroom cabinet painting project hinges on meticulous preparation and planning. A well-organized approach ensures a smooth process, a beautiful finish, and long-lasting results.
Preparing the Cabinets
Thorough preparation is crucial for a successful paint job. It involves a series of steps designed to create a clean, smooth, and receptive surface for the paint.
- Cleaning: Begin by removing all hardware, such as knobs, pulls, hinges, and shelves. Then, thoroughly clean the cabinets using a mild detergent and warm water. Pay special attention to grease, grime, and soap residue, as these can hinder paint adhesion. Rinse the cabinets thoroughly with clean water and allow them to dry completely.
- Sanding: After cleaning, lightly sand the cabinets using fine-grit sandpaper (120-180 grit). This step helps to smooth out any imperfections, create a uniform surface, and enhance paint adhesion. Focus on areas with scratches, dents, or rough spots.
- Masking: Use painter’s tape to protect areas that you don’t want to paint, such as surrounding walls, trim, and hardware holes. Apply the tape carefully, pressing it firmly to create a tight seal. This prevents paint from bleeding onto unwanted surfaces.
Gathering Tools and Materials
Having the right tools and materials at hand is essential for a smooth and efficient painting process.
- Paint Brushes: Choose high-quality brushes designed for the type of paint you’re using. A variety of sizes will be helpful for different areas.
- Paint Rollers: Opt for a roller with a nap length suitable for the cabinet surface. A shorter nap (1/4-inch) is generally best for smooth surfaces.
- Sandpaper: Use fine-grit sandpaper (120-180 grit) for initial sanding and a finer grit (220-400 grit) for final sanding.
- Painter’s Tape: Choose a high-quality painter’s tape that won’t leave residue on the surface.
- Drop Cloths: Protect your floors and surrounding areas from paint splatters using drop cloths.
- Paint Thinner: Select a paint thinner compatible with the type of paint you’re using.
- Paint: Choose a high-quality paint specifically designed for bathroom cabinets.
Choosing the Right Paint
The choice of paint is crucial for a successful bathroom cabinet painting project. Consider these factors:
- Durability: Bathroom cabinets experience high humidity and frequent cleaning. Choose a paint that is durable and resistant to moisture and abrasion.
- Moisture Resistance: Opt for a paint that is specifically formulated for high-moisture environments, such as acrylic latex or enamel paints.
- Finish: The finish of the paint influences the look and feel of the cabinets. Consider the following options:
- Matte: Provides a flat, non-reflective finish that hides imperfections.
- Eggshell: Offers a subtle sheen that is more durable than matte but still provides a soft look.
- Satin: Has a slightly more reflective finish that is easy to clean and adds a touch of elegance.
- Semi-Gloss: Provides a high-gloss finish that is very durable and easy to clean.
- Gloss: Offers the highest level of sheen, providing a reflective and polished look.
Choosing the Right Paint Color and Sheen, How to paint bathroom cabinets like a pro
Selecting the appropriate paint color and sheen is essential for creating a cohesive and visually appealing bathroom.
- Color: Consider the overall style and color scheme of your bathroom. Choose a color that complements the existing fixtures, flooring, and walls.
- Sheen: The sheen of the paint affects the appearance and reflectivity of the cabinets.
- Matte and eggshell finishes are ideal for creating a soft and understated look, while satin, semi-gloss, and gloss finishes provide a more polished and reflective appearance.
- Consider the lighting conditions in your bathroom. In rooms with limited natural light, a matte or eggshell finish can help to diffuse light and create a more spacious feel. In well-lit bathrooms, a satin, semi-gloss, or gloss finish can enhance the brightness and reflectivity of the cabinets.
Painting Techniques and Tips

Now that you have prepped your cabinets, it’s time to unleash your inner artist! Let’s dive into the techniques and tips that will transform your bathroom cabinets into a masterpiece.
Applying Paint
Applying paint to your bathroom cabinets requires precision and care to achieve a professional finish. Let’s explore the best techniques for different areas.
Brush Strokes
Using a brush for detailed areas like corners, edges, and around hardware is crucial. The key is to use smooth, even strokes, following the grain of the wood for a natural look.
Use a high-quality brush with angled bristles for optimal control and a smooth finish.
Roller Application
For larger surfaces like cabinet doors and drawer fronts, a roller is your best friend. Apply paint in even, overlapping strokes, working in sections to ensure consistent coverage.
To avoid roller marks, use a high-quality roller with a nap length suitable for your paint type.
Edging
To achieve clean lines and prevent paint bleeding, edging is essential. Use a small brush to apply a thin coat of paint along the edges of your cabinets, doors, and drawers.
For sharper lines, use painter’s tape to mask off areas before edging.
Achieving a Smooth Finish
A smooth, even finish is the hallmark of professional painting. Here’s how to achieve it:
Paint Thinner
Using a paint thinner can help to thin the paint and make it easier to apply. This is especially useful when working with oil-based paints.
Always follow the manufacturer’s instructions for using paint thinner.
Thin Coats
Applying thin coats of paint allows for even drying and prevents drips and runs. It’s better to apply multiple thin coats than one thick coat.
Wait for each coat to dry completely before applying the next.
Drying Time
Allowing sufficient drying time between coats is essential for a durable and smooth finish. Check the manufacturer’s instructions for recommended drying times.
Avoid rushing the process, as this can lead to uneven drying and paint peeling.
Primer: The Foundation for a Perfect Finish
A primer is the unsung hero of any painting project. It provides a smooth, even surface for the paint to adhere to, resulting in a more durable and vibrant finish.
Use a high-quality primer specifically designed for bathroom cabinets to ensure optimal adhesion and durability.
Painting Cabinet Doors and Drawers
Painting cabinet doors and drawers requires a bit of extra care to ensure a smooth and professional finish.
Removing Hardware
Before painting, remove all hardware from your cabinet doors and drawers. This will allow you to paint the entire surface without any obstructions.
Use a screwdriver or wrench to remove the hardware carefully.
Painting the Doors and Drawers
Paint the doors and drawers separately, using the same techniques described above. Apply thin coats and allow for sufficient drying time between coats.
Place the doors and drawers on a flat surface to dry, ensuring they don’t warp or bend.
Reattaching Hardware
Once the paint is completely dry, reattach the hardware to your doors and drawers.
Use a screwdriver or wrench to tighten the screws securely.
Avoiding Common Painting Mistakes
Everyone makes mistakes, but there are some common painting pitfalls to avoid:
Drips and Runs
Drips and runs are often caused by applying paint too thickly or not allowing enough drying time between coats.
Apply thin coats and allow for sufficient drying time to prevent drips and runs.
Brush Marks
Brush marks can occur when the paint is too thick or the brush is not properly loaded.
Use a high-quality brush and load it with a small amount of paint for smooth application.
Uneven Coverage
Uneven coverage can result from not applying enough paint or using a roller with the wrong nap length.
Apply even coats of paint and use a roller with the appropriate nap length for your paint type.
Finishing Touches and Maintenance: How To Paint Bathroom Cabinets Like A Pro

After the paint has dried, the final touches are crucial for achieving a professional-looking finish and ensuring the longevity of your painted bathroom cabinets. These steps will protect your investment and enhance the beauty of your bathroom.
Applying a Clear Sealant
A clear sealant is essential for protecting your painted bathroom cabinets from moisture, wear, and tear. It creates a protective barrier that prevents water damage, stains, and scratches, extending the life of your paint job. Applying a high-quality sealant is like putting on a protective shield for your cabinets, keeping them looking pristine for years to come.
Achieving a Professional Finish
Sanding between coats and using a fine-grit sandpaper for final smoothing are key to achieving a professional-looking finish. Sanding removes imperfections, creates a smooth surface, and allows subsequent coats to adhere better.
- Sanding between coats: Use a fine-grit sandpaper (220-grit or higher) to smooth out any brushstrokes or imperfections between coats. This will create a smoother, more even finish.
- Final smoothing: After the final coat of paint has dried, lightly sand the entire surface with a very fine-grit sandpaper (400-grit or higher) to remove any remaining imperfections and create a smooth, silky finish.
Cleaning and Maintaining Painted Bathroom Cabinets
Regular cleaning and maintenance are essential for keeping your painted bathroom cabinets looking their best. Here’s a checklist for maintaining your painted bathroom cabinets:
- Regular Cleaning: Wipe down your cabinets with a damp cloth and mild soap solution weekly. Avoid harsh chemicals or abrasive cleaners, as they can damage the paint finish.
- Spot Cleaning: For spills or stains, use a damp cloth with a mild soap solution and gently rub the affected area. Do not scrub vigorously, as this can damage the paint.
- Avoid Excessive Moisture: Keep the area around your cabinets dry to prevent moisture buildup. Ensure proper ventilation in the bathroom to minimize humidity.
Repairing Minor Scratches or Chips
Minor scratches or chips can be easily repaired with a touch-up paint pen or brush. Simply apply a small amount of paint to the damaged area and allow it to dry completely. For deeper scratches or chips, you may need to sand the area down and apply a new coat of paint.
Lifespan of Painted Bathroom Cabinets
With proper care and maintenance, painted bathroom cabinets can last for many years. The lifespan of your painted cabinets depends on several factors, including the quality of the paint, the sealant used, and the frequency of cleaning and maintenance.
With proper care, painted bathroom cabinets can last for 10-15 years or more.
How to paint bathroom cabinets like a pro – Painting bathroom cabinets like a pro requires attention to detail and careful preparation. A fresh coat of paint can transform your bathroom’s aesthetic, and for a touch of sophisticated elegance, consider an espresso bathroom wall cabinet. This rich, dark hue adds a touch of warmth and sophistication to any bathroom space.
Once your cabinets are painted, be sure to protect them with a clear sealant to prevent moisture damage and ensure long-lasting beauty.
Achieving a professional finish on bathroom cabinets requires meticulous preparation and a steady hand. Whether you’re tackling a small refresh or a complete overhaul, remember to thoroughly clean and prime the surfaces for optimal adhesion. And for those looking for a relaxing retreat while your cabinets dry, consider exploring the hotels with 2 bedroom suites in Louisville, KY , where you can unwind in style.
Returning to your project, ensure you apply thin, even coats of paint for a flawless finish, and let each layer dry completely before applying the next.
