Understanding the Problem

Peeling paint on a bathroom ceiling is a common problem that can be caused by a variety of factors. Identifying the type of paint, analyzing the cause of peeling, and assessing the severity of the damage are crucial steps in determining the best course of action for repair.
Types of Paint
Understanding the type of paint used on your bathroom ceiling is essential for determining the cause of peeling. Different types of paint have different properties and are susceptible to different problems.
- Oil-based paint: This type of paint is durable and water-resistant, making it a popular choice for bathrooms. However, oil-based paint can be prone to cracking and peeling over time, especially if it is not properly prepared.
- Latex paint: Latex paint is a water-based paint that is easy to apply and dries quickly. It is also generally more breathable than oil-based paint, which can help prevent moisture buildup. However, latex paint can be less durable than oil-based paint and may be more susceptible to peeling if it is not applied correctly.
- Epoxy paint: Epoxy paint is a highly durable and moisture-resistant paint that is often used in high-traffic areas, including bathrooms. However, epoxy paint can be difficult to apply and may require professional installation.
Causes of Peeling
Several factors can contribute to paint peeling on a bathroom ceiling, including:
- Moisture and Humidity: Bathrooms are naturally humid environments, which can cause paint to peel over time. The constant exposure to steam and condensation can weaken the paint’s adhesion to the ceiling.
- Improper Preparation: Failing to properly prepare the ceiling before painting can lead to peeling. This includes cleaning the surface to remove dirt, grease, and mildew, as well as sanding to create a smooth surface for the paint to adhere to.
- Aging: Over time, paint can naturally break down and become more susceptible to peeling. This is especially true in bathrooms, where the paint is exposed to high levels of moisture and humidity.
- Poor Ventilation: Inadequate ventilation can trap moisture in the bathroom, leading to condensation and paint peeling.
Severity of Peeling
The severity of paint peeling can vary widely, ranging from minor flaking to extensive damage.
- Minor Flaking: This is the least severe form of peeling, where only a few small flakes of paint are coming off the ceiling. This can often be addressed with a simple touch-up.
- Moderate Peeling: Moderate peeling involves larger areas of paint coming off the ceiling, but the underlying surface is still intact. This may require scraping and sanding before repainting.
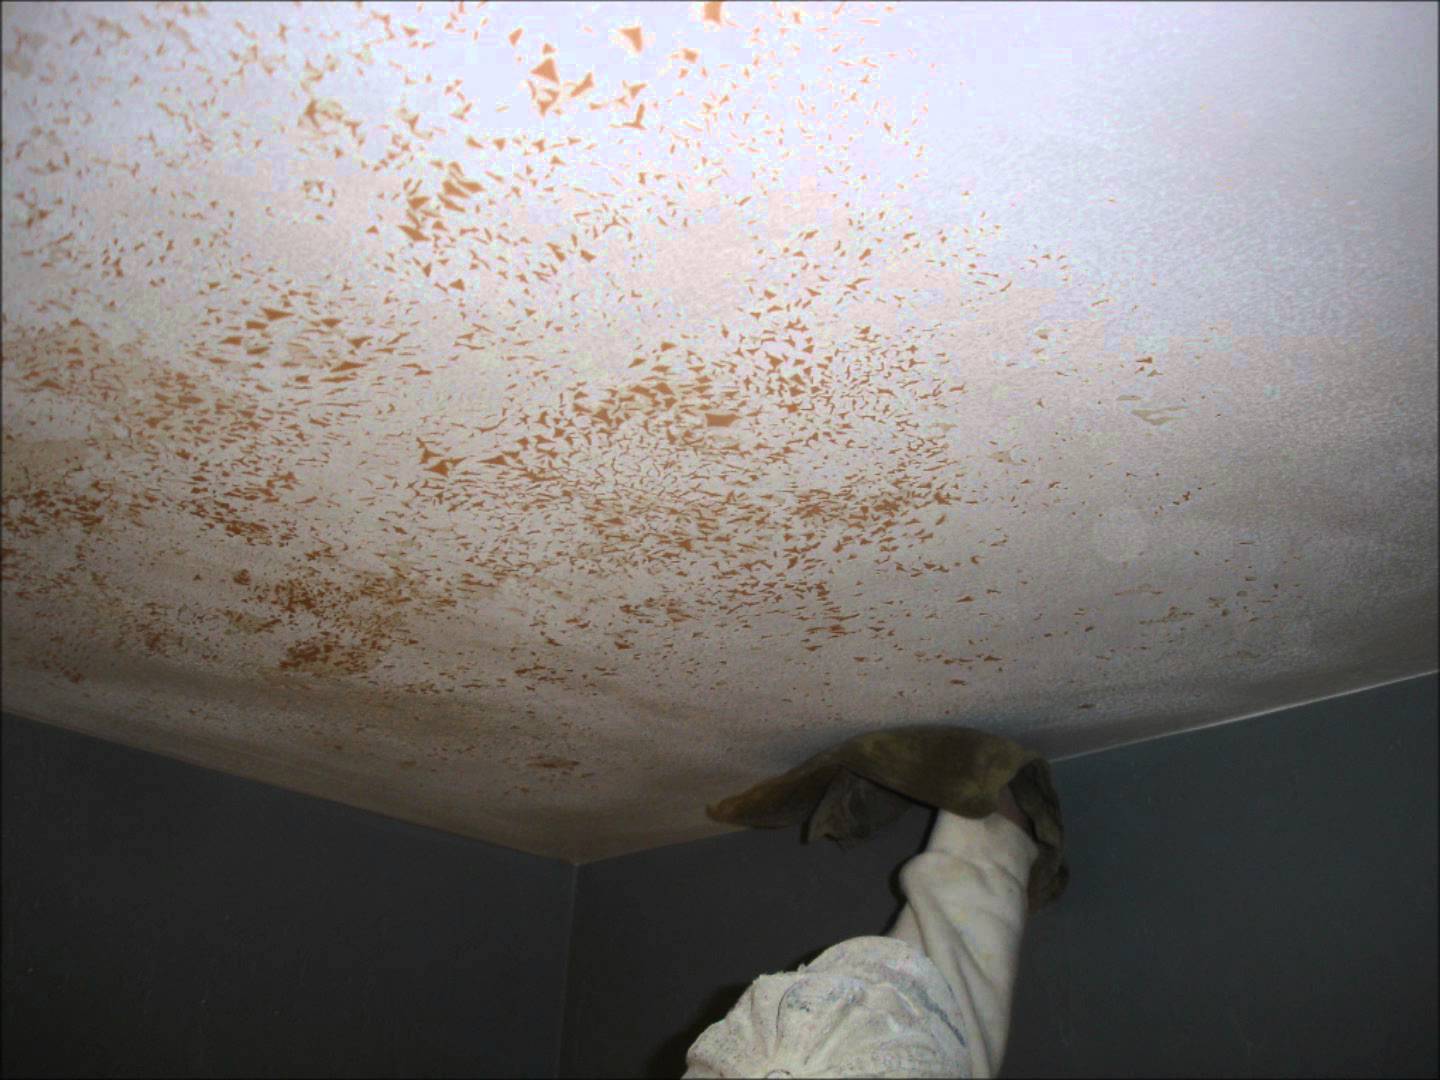
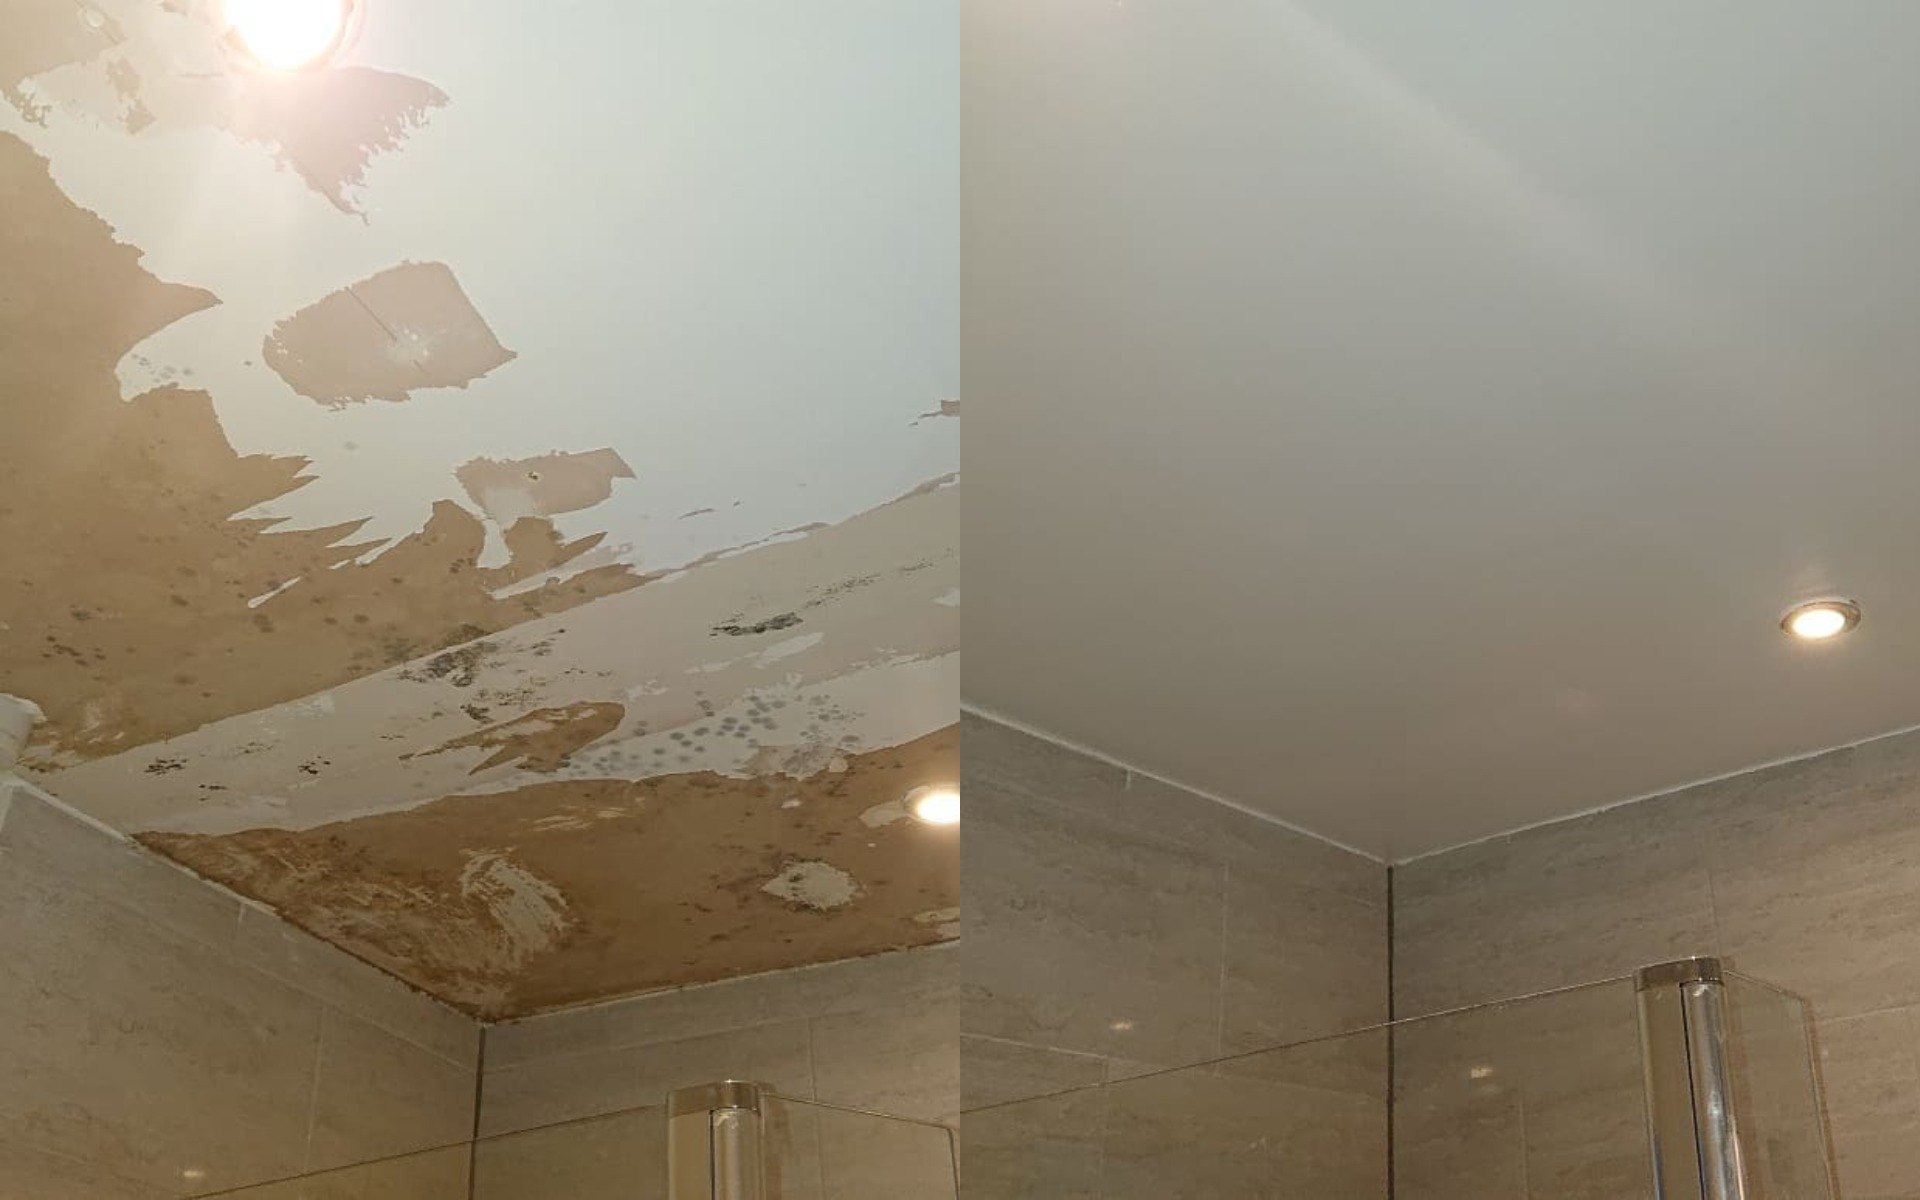
- Severe Peeling: In severe cases, large sections of paint may be peeling off, exposing the underlying drywall or plaster. This may require significant repairs before repainting.
Preparing for Removal

Before you start scraping away at the peeling paint, it’s crucial to prepare the area properly. This ensures a safe and efficient removal process, minimizing potential damage to your bathroom and yourself.
Gathering Necessary Tools and Materials
A well-equipped toolbox is essential for tackling this project. Here’s a comprehensive list of tools, safety gear, and materials you’ll need:
- Safety Gear:
- Safety Glasses: Protect your eyes from flying paint chips and debris.
- Dust Mask: Prevent inhaling paint dust, which can be harmful to your respiratory system.
- Gloves: Protect your hands from paint, chemicals, and sharp tools.
- Tools for Removal:
- Putty Knife: A versatile tool for scraping off loose paint and removing stubborn areas.
- Paint Scraper: Designed for removing large areas of paint, especially if it’s peeling in sheets.
- Wire Brush: Useful for cleaning stubborn paint residue and roughening surfaces for better adhesion of new paint.
- Heat Gun: Soften paint for easier removal, but use with caution to avoid damaging the ceiling.
- Cleaning and Preparation Supplies:
- Cleaning Solution: Use a mild detergent or a specialized paint remover for cleaning the ceiling.
- Sandpaper: Prepare the surface for new paint by sanding down rough spots and smoothing out imperfections.
- Drop Cloths or Plastic Sheeting: Protect the floor and surrounding areas from paint chips and debris.
- Painter’s Tape: Mask off areas you don’t want to paint, such as trim, walls, or fixtures.
- Bucket: For holding water and cleaning solutions.
- Sponge or Rags: For wiping down the ceiling and cleaning up spills.
Protecting the Surrounding Area
Before you start removing paint, it’s crucial to protect your bathroom from the inevitable mess. This includes:
- Covering the Floor: Lay down drop cloths or plastic sheeting to protect the floor from paint chips, dust, and debris. Extend the coverage beyond the immediate work area to ensure a clean workspace.
- Protecting Furniture and Fixtures: Cover any furniture, mirrors, or other fixtures in the bathroom with plastic sheeting or drop cloths. Secure the coverings with tape to prevent them from moving during the removal process.
- Masking Off Sensitive Areas: Use painter’s tape to mask off areas you don’t want to paint, such as trim, walls, or fixtures. This helps create clean lines and prevents accidental paint spills.
Preparing the Ceiling Surface
A clean and smooth ceiling surface is essential for achieving a professional-looking finish. Here’s how to prepare the ceiling:
- Clean the Ceiling: Remove any loose debris or dust with a vacuum cleaner or a damp cloth. If the paint is heavily soiled, use a mild detergent solution to clean the surface. Rinse thoroughly with clean water and allow the ceiling to dry completely before proceeding.
- Remove Loose Paint: Use a putty knife or paint scraper to remove any loose or peeling paint. Be careful not to damage the underlying plaster or drywall. Work in small sections, gently scraping away the loose paint without applying excessive pressure.
- Sand the Surface: Once all loose paint is removed, use sandpaper to smooth out any rough spots or imperfections. This will create a uniform surface for the new paint to adhere to. Start with a coarse-grit sandpaper (80-grit) for removing larger imperfections, then finish with a fine-grit sandpaper (120-grit) for a smoother finish.
Removing the Peeling Paint: How To Remove Peeling Paint From Bathroom Ceiling

Now that you have prepared your bathroom ceiling for paint removal, it’s time to tackle the peeling paint itself. This section will guide you through the different methods for removing peeling paint, providing step-by-step instructions for each technique.
Choosing the Right Removal Method
The most suitable method for removing peeling paint depends on the type of paint, the extent of peeling, and your personal preference. Here’s a breakdown of common techniques:
- Scraping: This method involves using a scraper to physically remove the peeling paint. It is effective for large areas of peeling paint and works well with older, flaking paint. However, scraping can be labor-intensive and may damage the underlying surface if not done carefully.
- Sanding: Sanding can be used to remove peeling paint, but it’s more suitable for smaller areas or for smoothing out rough patches after scraping. Sanding requires caution as it can create dust, which can be harmful if inhaled. Always wear a mask and protective eyewear.
- Chemical Stripping: Chemical paint strippers are designed to dissolve paint, making it easier to remove. They are effective for removing multiple layers of paint and can be used on various surfaces. However, chemical strippers can be harsh and require careful handling. They can also emit fumes, so adequate ventilation is crucial.
Scraping Technique, How to remove peeling paint from bathroom ceiling
- Gather Supplies: You will need a scraper (a putty knife or a paint scraper will work), a drop cloth, a dustpan, and a trash bag.
- Prepare the Area: Protect the surrounding area with a drop cloth to prevent paint chips from falling on the floor.
- Start Scraping: Insert the scraper under the peeling paint and gently pry it off the ceiling. Work in small sections, gradually removing the paint.
- Dispose of Paint Debris: Collect the paint chips in a trash bag. If the paint contains lead, follow local regulations for disposal.
- Clean Up: Sweep or vacuum the area to remove any remaining paint chips or dust.
Sanding Technique
- Gather Supplies: You will need sandpaper (various grits depending on the severity of the peeling), a sanding block, a dust mask, and protective eyewear.
- Prepare the Area: Protect the surrounding area with a drop cloth and wear a dust mask and protective eyewear.
- Start Sanding: Use a sanding block to gently sand the peeling paint. Start with a coarser grit sandpaper and gradually move to a finer grit for a smoother finish.
- Dispose of Paint Debris: Collect the sanding dust in a dustpan and dispose of it properly.
- Clean Up: Vacuum the area to remove any remaining dust.
Chemical Stripping Technique
- Gather Supplies: You will need a chemical paint stripper, a paintbrush, a scraper, a drop cloth, rubber gloves, eye protection, and a respirator mask.
- Prepare the Area: Protect the surrounding area with a drop cloth and wear rubber gloves, eye protection, and a respirator mask. Ensure adequate ventilation.
- Apply the Stripper: Use a paintbrush to apply the chemical stripper to the peeling paint. Follow the instructions on the product label for application time and coverage.
- Scrape the Paint: After the stripper has softened the paint, use a scraper to remove the paint. Work in small sections and be careful not to damage the underlying surface.
- Neutralize the Stripper: After removing the paint, neutralize the stripper according to the product instructions. This is typically done with a solution of water and baking soda.
- Clean Up: Dispose of the paint stripper and neutralized solution according to local regulations. Clean the area with soap and water to remove any residue.
Safe Handling and Disposal of Paint Debris
- Collect and Contain: Collect paint chips and dust in a sealed container, such as a plastic bag or a metal can. Label the container clearly with the type of paint and the date.
- Dispose Properly: Dispose of paint debris according to local regulations. Many communities have designated drop-off locations for hazardous waste, including paint and paint-related materials.
